
Step into the Future: Modern 3D Wallcovering Ideas
Introduction: Elevate Your Space with Modern 3D Wallcovering Panels
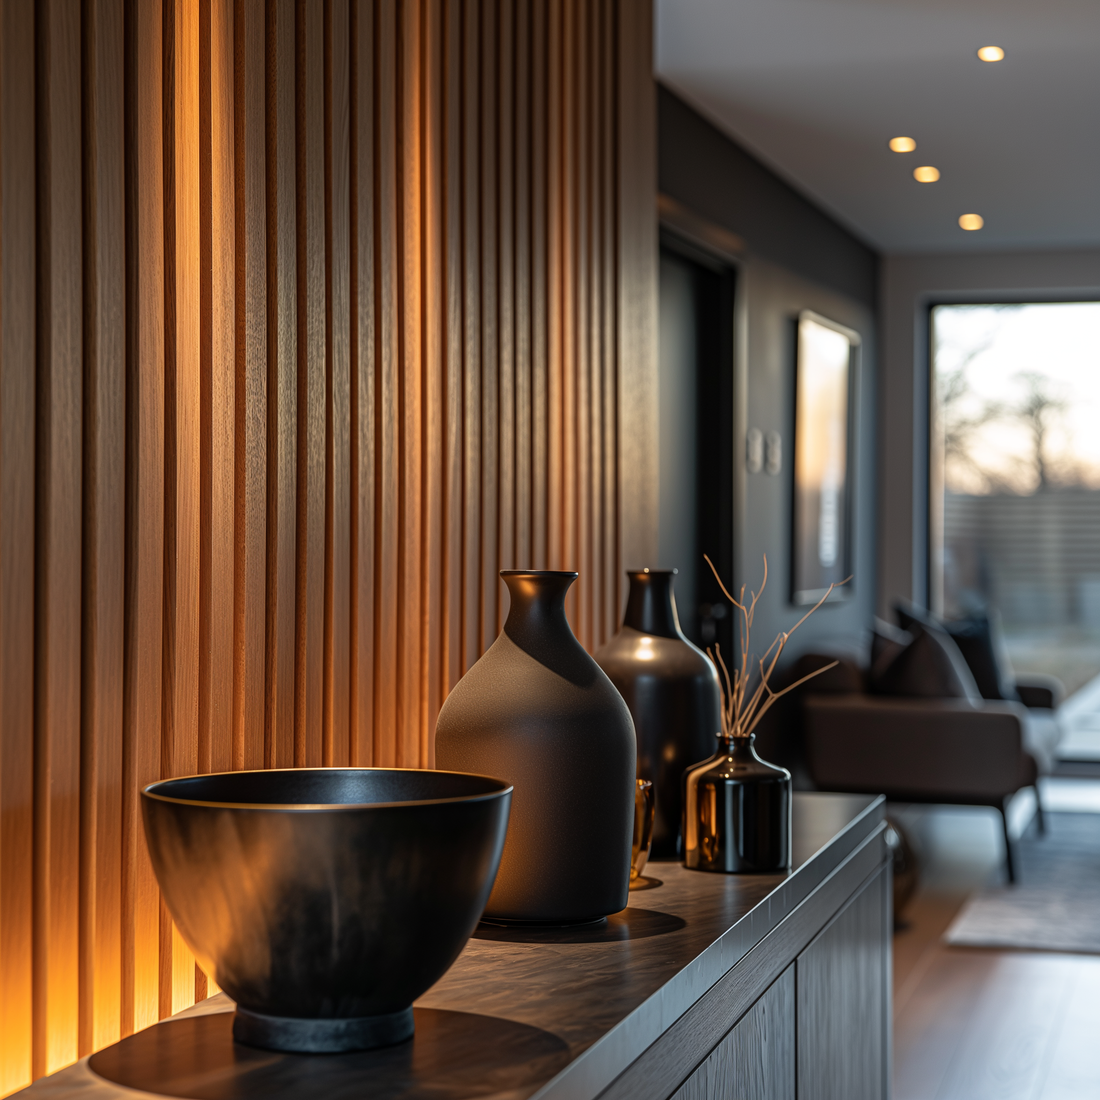
Transform your interiors with the dynamic and futuristic charm of modern 3D wallcovering panels. In this guide, we’ll explore how to incorporate these innovative panels into your design, offering step-by-step instructions, expert tips, and creative ideas to inspire you. Discover the potential of 3D wallcovering panels and create a space that exudes modernity and sophistication.
Why Choose 3D Wallcovering Panels?
Aesthetic Appeal 3D wallcovering panels add a unique and futuristic touch to any room. Their dynamic designs and textures create a visually striking focal point that enhances the overall ambiance of the space.
Depth and Dimension Unlike traditional flat wall panels, 3D wallcovering panels introduce depth and dimension to your walls, creating an engaging and immersive environment.
Versatility Available in various finishes, colors, and patterns, 3D wallcovering panels can be customized to match any interior design style. Whether you prefer a bold, contemporary, or minimalist look, there’s a 3D wallcovering panel option for you.
Durability Made from high-quality materials, 3D wallcovering panels are built to last. They resist wear and tear, making them a practical and long-lasting choice for your home or office.

Step-by-Step Guide to Installing 3D Wallcovering Panels
Tools and Materials You’ll Need
- 3D wallcovering panels
- Measuring tape
- Level
- Pencil
- Adhesive or nails
- Saw (if panels need cutting)
- Sandpaper
- Caulking gun
- Caulk
- Paint or wood finish (if needed)
- Safety gear (gloves, goggles)
Step 1: Prepare Your Walls
Cleaning and Smoothing the Surface Start by thoroughly cleaning your walls to remove any dust, dirt, or grease. Use sandpaper to smooth out any rough areas or imperfections. This preparation ensures that the 3D wallcovering panels adhere properly to the wall.
Measuring and Marking Measure the dimensions of your wall and mark where each panel will go. Use a level to ensure your lines are straight. Accurate measurements and markings are crucial for achieving a professional finish.
Step 2: Cutting the Panels
Measuring and Marking the Panels Measure your 3D wallcovering panels to fit the dimensions you marked on the wall. Mark the panels with a pencil where they need to be cut.
Cutting the Panels Using a saw, carefully cut the panels to the required size. Wear safety gear during this step to protect yourself from dust and debris.
Step 3: Applying Adhesive
Choosing the Right Adhesive Select an adhesive suitable for the type of 3D wallcovering panels you are using. Some panels may require specific adhesives, so check the manufacturer's recommendations.
Applying the Adhesive Apply the adhesive to the back of the 3D wallcovering panel in a zigzag pattern. Be generous but avoid applying too much adhesive, which can cause the panels to slip or not adhere properly.
Step 4: Installing the Panels
Placing the Panels on the Wall Carefully press the panel onto the wall, starting from the bottom and working your way up. Use a level to ensure the panel is straight. Press firmly to ensure good adhesion.
Securing the Panels Depending on the type of 3D wallcovering panels and the adhesive used, you may need to secure the panels with nails or screws temporarily until the adhesive sets. Follow the manufacturer's instructions for the best results.
Step 5: Finishing Touches
Filling Gaps and Seams Once all the panels are installed, check for any gaps or seams between them. Use caulk to fill these areas for a seamless look. Smooth the caulk with your finger or a caulking tool.
Painting (If Needed) If your 3D wallcovering panels are paintable, consider adding a coat of paint to enhance their appearance. Choose a paint color that complements your room’s decor.
Final Inspection After the panels are installed and any paint or caulk has dried, inspect your work. Ensure all panels are securely attached and that there are no visible gaps or imperfections.
Tips for a Professional Finish
Take Your Time Rushing through the installation can lead to mistakes. Take your time to measure, cut, and apply each panel carefully.
Use Quality Materials Investing in high-quality 3D wallcovering panels and adhesive will result in a more durable and attractive finish.
Seek Help If Needed If you’re unsure about any part of the process, don’t hesitate to seek help from a professional or consult online resources.
Conclusion: Transform Your Space with 3D Wallcovering Panels
3D wallcovering panels can transform your space into a modern and futuristic retreat. By following these steps and tips, you can achieve a professional finish that adds value and beauty to your home or office. Ready to get started? Visit our website to explore our extensive collection of 3D wallcovering panels and find the perfect style and design to match your interior decor. Start your home transformation project today and enjoy the dynamic beauty of 3D wallcovering panels.