
Wood Wall Paneling: Transform Your Space into a Rustic Retreat
Wood wall paneling is a timeless way to bring warmth and coziness to any room. Whether you’re aiming for a cabin-like feel or simply want to add some natural elements to your home, wood wall paneling can create a stunning rustic retreat. In this comprehensive guide, we’ll walk you through the process of installing wood wall paneling step-by-step, provide useful recommendations, and share expert tips to ensure your project is a success. Plus, don't forget to check out our collection of wall panels on our website to find the perfect match for your home.
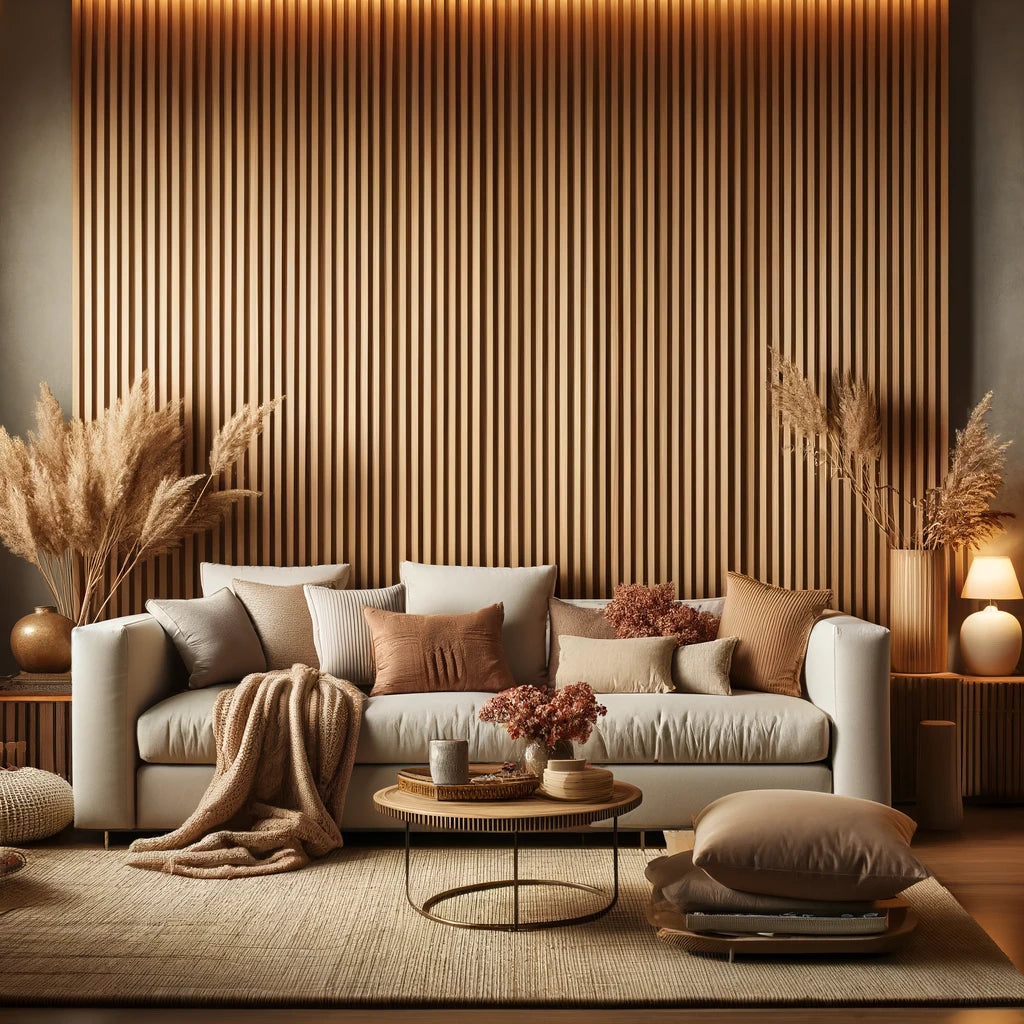
Why Choose Wood Wall Paneling?
Benefits of Wood Wall Paneling
Wood wall paneling offers numerous advantages that make it a popular choice for home decor:
- Aesthetic Appeal: Adds natural beauty and character to any space.
- Insulation: Enhances the insulation of your home, keeping it warm and energy-efficient.
- Durability: Long-lasting and able to withstand wear and tear.
- Easy Maintenance: Simple to clean and maintain.
Ideal Spaces for Wood Wall Paneling
Wood wall paneling can transform various areas of your home, such as:
- Living Rooms: Create a cozy gathering spot for family and friends.
- Bedrooms: Add warmth and a rustic charm to your sleeping quarters.
- Home Offices: Enhance productivity with a serene, natural environment.
- Dining Rooms: Make your meals feel more intimate and inviting.
Tools and Materials for Installing Wood Wall Paneling
Gather Your Supplies
Before you start your wood wall paneling project, ensure you have the following tools and materials:
- Wood panels
- Measuring tape
- Level
- Pencil
- Stud finder
- Nails or screws
- Hammer or drill
- Saw (for cutting panels to size)
- Sandpaper
- Adhesive (optional, for added security)
- Caulking gun
- Caulk
- Wood filler (if needed)
- Paint or stain (optional)
- Safety gear (gloves, goggles)
Step-by-Step Instructions for Installing Wood Wall Paneling
Step 1: Prepare Your Walls
Cleaning and Smoothing the Surface
Begin by preparing your walls. Clean the surface thoroughly to remove any dust, dirt, or grease. Use sandpaper to smooth out any rough areas or imperfections, ensuring the panels will adhere properly.
Finding and Marking Studs
Use a stud finder to locate the studs in your wall. Mark these locations with a pencil, as you’ll need to attach the panels to the studs for secure installation.
Step 2: Measure and Cut the Panels
Measuring the Wall and Panels
Measure the dimensions of your wall and mark where each wood panel will go. Use a level to ensure your lines are straight. This step is crucial for achieving a professional finish.
Cutting the Panels
Using a saw, carefully cut the wood panels to fit the dimensions you marked. Wear safety gear during this step to protect yourself from dust and debris.
Step 3: Attach the Panels
Applying Adhesive (Optional)
For added security, you can apply adhesive to the back of the wood panels. This step is optional but recommended for a more durable installation.
Securing the Panels to the Wall
Position the first panel at the bottom of the wall, ensuring it is level. Use nails or screws to secure the panel to the studs. Repeat this process for each panel, working your way up the wall. Ensure each panel is level before securing it.
Step 4: Finishing Touches
Filling Gaps and Seams
After all the panels are installed, check for any gaps or seams. Use wood filler to fill these areas for a seamless look. Smooth the filler with sandpaper once it’s dry.
Caulking
Apply caulk along the edges of the panels where they meet the wall for a polished finish. Smooth the caulk with your finger or a caulking tool.
Painting or Staining (Optional)
If desired, add a coat of paint or stain to enhance the appearance of your wood wall paneling. Choose a color or finish that complements your room’s decor.
Final Inspection
Inspect your work to ensure all panels are securely attached and there are no visible gaps or imperfections. Make any necessary touch-ups to achieve a flawless finish.
Tips for a Professional Finish
Take Your Time
Rushing through the installation can lead to mistakes. Take your time to measure, cut, and apply each panel carefully.
Use Quality Materials
Investing in high-quality wood panels and tools will result in a more durable and attractive finish.
Seek Help If Needed
If you’re unsure about any part of the process, don’t hesitate to seek help from a professional or consult online resources.
Regular Maintenance
To keep your wood wall paneling looking its best, perform regular maintenance such as dusting and occasional refinishing.
Explore Our Collection
Ready to create your own rustic retreat with wood wall paneling? Visit our website to explore our extensive collection of wall panels. Find the perfect style and design to match your home decor and start your wood wall paneling project today!
With these detailed steps, recommendations, and tips, you’ll be able to transform any space into a cozy, rustic retreat with beautiful wood wall paneling. Happy decorating!